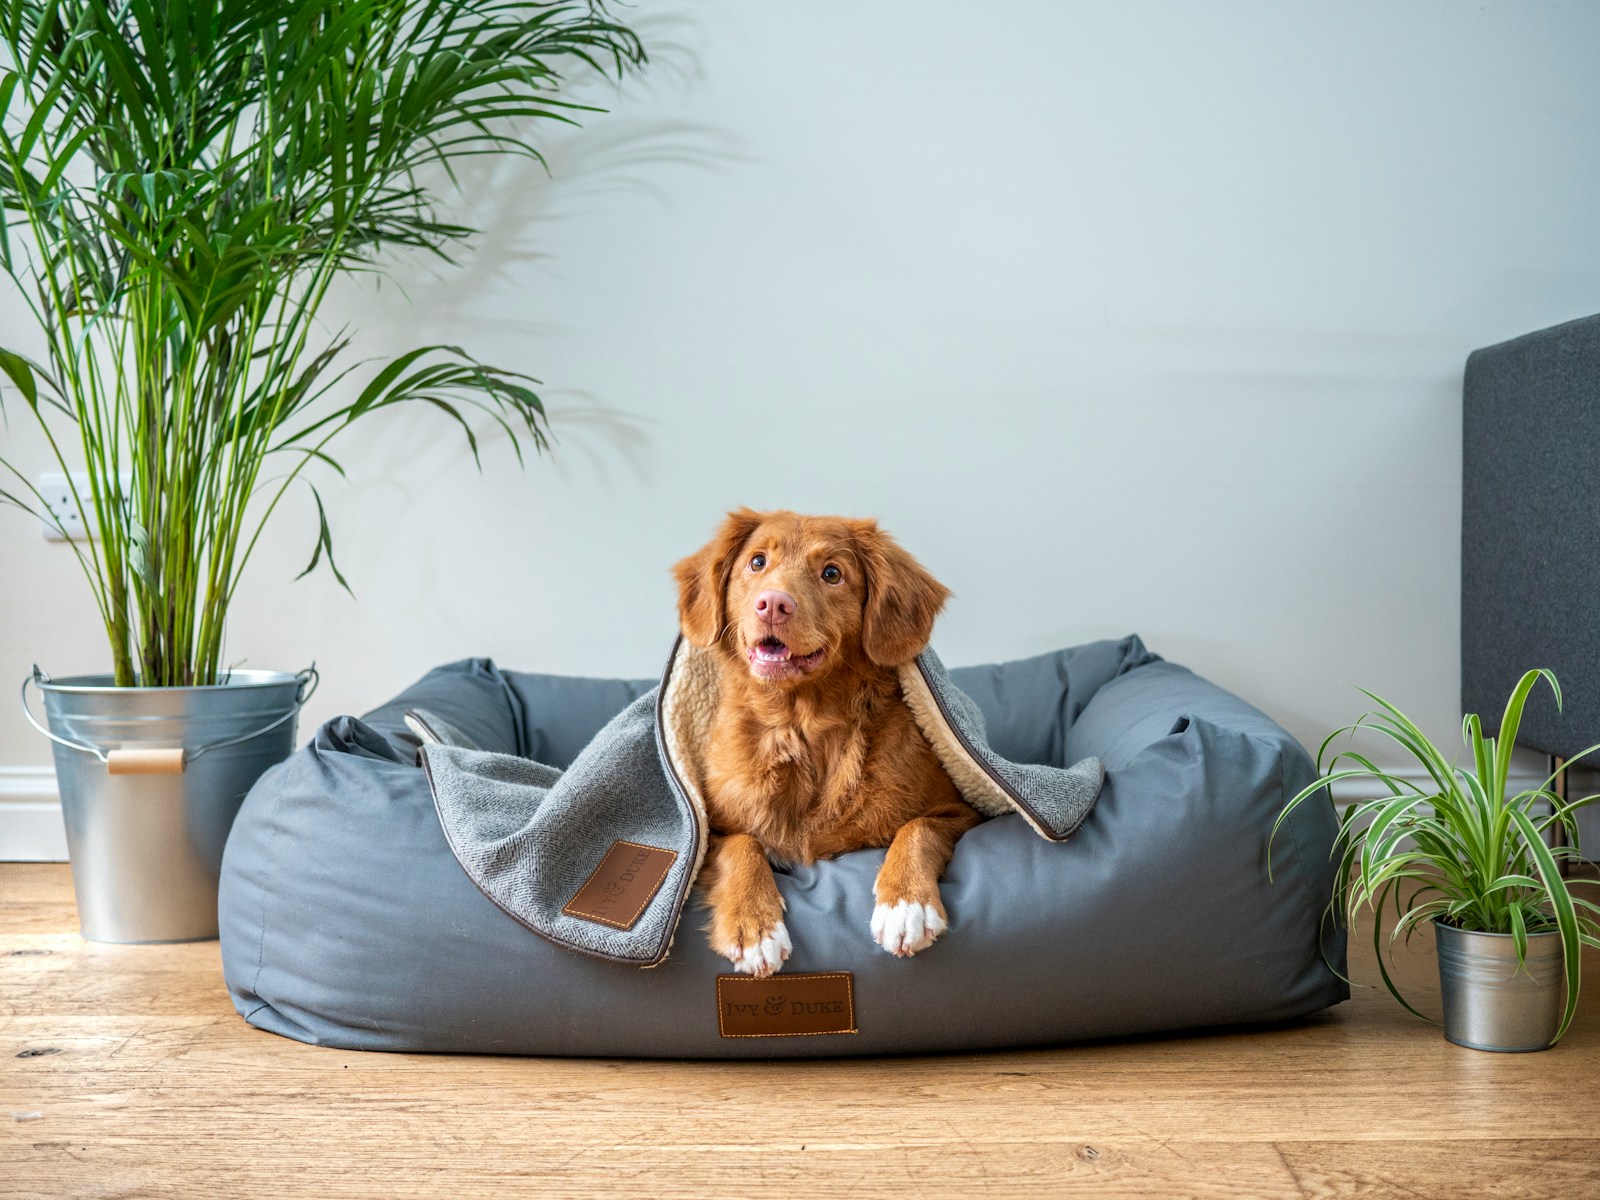
So, you’re tired of tripping over your dog’s bed in the middle of the room? We’ve got just the fix for you – a DIY Murphy bed for your dog! It’s the perfect solution that gives your furry friend a cozy spot to sleep while keeping your floor space clear.
Building a Murphy bed for your dog might sound a bit complicated, but trust me, it’s not as tough as you might think. With a few basic tools, some patience, and this guide, you’ll have a new dog bed that’ll make both you and your pet happy. So let’s get started, shall we?
Step 1: Gather the Materials and Tools
First thing’s first: gather your tools and materials. This step is all about preparation. You know the saying, “measure twice, cut once”? Well, that starts with making sure you’ve got everything you need before you get started.
Let’s start with the materials you’ll need. This isn’t an extensive shopping list, but make sure you’ve got the essentials covered:
- A plywood sheet for the wall-mounted box
- Wood boards for the bed frame
- Thin foam for padding the bed
- Fabric to cover the foam (something comfy for your pup, maybe fleece or a soft cotton)
- A hinge for the bed to fold up and down
- Screws to secure everything
- Wood glue for extra security
An inventory count might look a bit like this:
| Material | Quantity |
|---|---|
| Plywood Sheet | 1 piece |
| Wood Boards | As per bed size |
| Thin Foam | As per bed size |
| Fabric | As per bed size |
| Hinge | 1 unit |
| Screws | As required |
| Wood Glue | 1 bottle |
Got all that? Good. Now let’s talk about the tools.
You don’t need a workshop filled with power tools, but you do need to wrangle a couple of essentials. Here’s what you’ll be reaching for:
- A saw (a circular saw or a table saw will do)
- A drill for securing the hinge and other parts
- A tape measure for accurate cuts
- Fabric scissors for cutting the bedding material
- A brush for spreading the wood glue
And voilà! Now that you have your materials and tools together, you’re all set to move onto the next phase of the project.
Step 2: Measure and Design the Bed
Alright! You’ve got your materials and tools lined up. It’s time to get dirty with measurements and designing.
Kick-starting this phase requires you get the right measurements for your dog bed. You don’t want a bed that’s too tight or too roomy for your furry friend. Start by measuring your doggy from nose to tail. Add an extra 5 inches on both sides to give enough space for your dog to stretch comfortably while sleeping.
Next, draft out your Murphy bed design. Nothing beats a personalized touch that reflects a blend of your creativity and aesthetic value. Picture the bed like a cabinet hanging on the wall which can be folded up and down. This will help you grasp the concept of your project better.
For the bed compartment, make sure your design accommodates your dog’s favourite sleeping pose. Some pups love curling up while others fancy sprawling out. If your dog enjoys both, well, consider the larger pose.
Once you have the measurements, it’s time to transfer these on your plywood sheet. Grab your tape measure and marker. Draw out your desired bed dimensions on the plywood sheet. Don’t forget to indicate where the door will be on the bottom piece. A good tip is to ensure your door should be at least half the height of your Murphy bed.
With those dimensions on the plywood, you’re now set for the cutting phase. But before slicing those lines, you want to verify every measurement, right? Measure twice, cut once they say! Once verified and you’re certain of your markings, introduce the saw because the real fun is just about to begin!
Step 3: Cut and Assemble the Frame
After you’ve double-checked your measurements, we’ll get down to the exciting part: cutting and assembling your dog’s new Murphy bed frame. First, grab your safety goggles. Safety is important when dealing with saws.
Cut your plywood sheet according to the measurements you jotted down. It’s crucial not to rush this step. Take your time to ensure precise cuts. Following your design, you should have pieces for the front, back, sides, and bottom of the bed. Having clamps on hand to keep your plywood steady during cutting can make this part smoother and safer.
Once your pieces are cut, it’s time to assemble. You’ll need your trusty wood glue, and maybe a friend’s extra set of hands. Glue and clamp your pieces together, making sure everything is square. It’s important to allow sufficient time for the glue to fully dry.
While the glue is drying, drill pilot holes for your screws. Using screws will provide additional support and make your Murphy bed more durable. Remember to keep track of your screws – you don’t want to step on one later.
When the glue is fully dried, screw your pieces together following the pilot holes. The screws should be tightened just until they’re flush with the wood. Never overtighten. At this point, your frame should be sturdy and ready for the next steps.
Here’s a quick recap of what you’ve done and what you’ll need for this step:
- Cut your plywood pieces according to measurements
- Glued and clamped the pieces together
- Drilled pilot holes for screws
- Screwed the pieces together once the glue has dried
| Material | Quantity |
|---|---|
| Plywood Sheets | As per your design |
| Wood Glue | Sufficient to apply on edges |
| Screws | As per your design |
| Wood Clamps | As per your design |
In the next part, we’ll dig into how to design and add a hinge system that allows the bed to flip up and down. Stay tuned! You’re doing a great job and your pup’ll thank you for it with lots of tail wags. You’re one step closer to a sleek space-saving solution for your home and a comfortable resting spot for your furry friend.
Step 4: Attach the Hinges and Handle
It’s hinged or unhinged. So get it right. Now that you’ve meticulously assembled your frame, the stage of attaching the hinges and a handle is imminent. Hinges enable your Murphy bed to fold up against the wall when your pet doesn’t need it. The handle makes it easier to pull it down and restore it to the upright position.
Now let’s delve into it. You’ll need:
- 2 Sturdy hinges
- Screws
- 1 Handle
- Drill
Start by determining the most effective position for the hinges. Usually, a hinge at each end of the bed should work well. Once you’ve marked the right spots with a pencil, drill pilot holes for attaching the hinges. Every pilot hole ensures that your screws go in straight and easy. Up next, place the hinges and screw them into place.
While bolting, be cautious about the hinge’s alignment with the frame. You don’t wanna end up with a skewed bed frame, do you? And remember, don’t overtighten the screws. Just enough twist to hold them firm.
With hinges secure, affix the handle next to make it easier for you to operate the Murphy bed. Decide upon the most feasible spot that makes pulling down and pushing up the bed smooth. Again, drill pilot holes and fix it up.
By the end of this step, you should have a folding dog bed attached to the wall through hinges, complete with a handle for easy operation. And there you have it. You just stepped closer to providing your furry pal with a comfy, space-saving bed!
Our task doesn’t end here. What’s lurking around the corner? Stay tuned to find out. We’ll be delving into some nifty decorative ideas in the next section to make your pet’s dream bed blend seamlessly into your home décor. Isn’t that exciting? So brace yourself for step 5. Your loyal friend’s comfort palace is almost ready, and it’s gonna be pawsome.
Step 5: Choose and Cut the Bedding
Now that you’ve got your bed frame all set up, you’re well underway in this DIY Murphy bed project for dogs. But what good’s a bed without some soft, comfy bedding? None at all, that’s what! So, it’s time to get down to choosing and cutting the bedding for your pet’s new snooze spot.
When selecting the material for the bedding, keep in mind your pet’s comfort and safety. Dogs love soft, plush fabrics like fleece, cotton, or faux fur. However, if your dog loves to chew, it’s best to choose durable, chew-resistant fabrics.
Next up, you’ll need to measure and cut. You’ll want to measure the interior dimensions of the bed box you’ve just put together. Just whip out your trusty measuring tape and jot down the numbers. It’s as simple as that. Your measurements should include both the length and the width of the bed space. Once you’ve got your dimensions, go ahead and cut your chosen fabric material to match.
But remember, always measure twice and cut once. You wouldn’t want to end up with a bedding that’s too small or too large, would you?
You’re also going to need some stuffing to make the bed more comfortable. Foam pads, batting, or even old pillows ya got lying around bit can be used for this.
So, there it is. A simple guide to choosing and cutting the bedding for your DIY dog Murphy bed. The next part of the project will get you hands-on with some neat and creative touches. We’ll talk more about it in the next section – “Step 6: Add Personal Touches to the Murphy Bed”. And before you know it, you’ll have put together a comfy, cosy, and stylish space just for your furry friend to relax in.
Step 6: Install the Bed in the Desired Location
So, you’ve selected the perfect fabric and cut it to fit the bedding. Now, it’s time to make this DIY Murphy bed part of your home’s décor. The location is key here. It should be convenient for your furry pal, but also work well with your room’s aesthetic. How about you try that little cozy corner? Or maybe up against the living room wall?
Location Location Location! Don’t forget, you need space for the bed to fold down without hitting anything. Also, pay attention to the height. You don’t want your tiny Chihuahua or elderly Dachshund struggling to climb into their loft bed.
Once you’ve found the perfect spot, mark the wall’s studs using a stud finder. These supporting structures will hold the weight of your Murphy bed, so be precise with your marking. Safety is paramount. You need a reliable framework that won’t pose a risk if your playful buddy gets a tad too bouncy.
Once you’ve made your marks, line up the backing of your bed box against the marks. As you hold it up, double-check the dimensions and see that it aligns well with your space. You don’t want it sticking out like a sore thumb.
To install, fasten sturdy brackets to the marked studs on the wall. Next, carefully align your bed box with these brackets and secure it using strong, robust screws. Don’t rush this part. The strong foundation is vital for the durability and safety of the bed.
Got that right? On to the next section then. Hang tight. This project’s got a couple more stages to it, yet. Stay tuned.
Conclusion
So you’ve made it through the bulk of your DIY Murphy bed project for your furry friend! You’ve got the bed box secured and the location sorted. It’s not just about convenience but also about making sure it fits your room’s style. You’ve considered space, height, and safety for your pet. You’ve even got those sturdy brackets fastened and the bed box secured. But don’t hang up your tool belt just yet. There are still a few more stages to go. So keep your paws on the project and soon enough, your dog will be snoozing away in their new cozy nook. And remember, it’s not just a bed – it’s a labor of love for your best buddy.