So, you’re ready to take off those old closet doors, huh? Maybe they’re just not your style, or perhaps you’re looking to open up some space. Whatever the reason, we’ve got you covered.
Removing closet doors isn’t as daunting as it might seem. With the right tools and a bit of patience, you’ll have those doors off in no time. And don’t worry, we’re here to guide you every step of the way.
Ready to roll up your sleeves and get started? Great! Let’s dive right into it.
Gather the necessary tools
Before you dive into the heart of the task, it’s vital to ensure you’ve got all the necessary tools on hand. Remember, preparation is key when undertaking DIY projects around your home, including removing closet doors.
When it comes to door deinstallation, you won’t need an expansive arsenal of tools. In fact, you may already have most of them lying around your house somewhere.
The following is what you’ll need:
- A screwdriver (phillips or flat-head, depending on your door’s hardware)
- A step ladder
- An adjustable wrench
- A pliers
- A utility knife (not necessary, but helpful for cutting through any paint or sealant)
These will typically get the job done. One extra tip: a little patience never hurt anybody. Some doors can be a bit stubborn, especially if they’ve been in place for quite some time.
Once you’ve rounded up all these tools, you’re well on your way to removing those pesky closet doors. Clear a nice work space near the closet so that you’ve got room to move around. Don’t rush each step, take your time, and try not to force things. The goal is to remove the doors without causing any unnecessary damage to the walls or to the doors themselves — we aren’t hulks here!
Next, we’ll dive into the process of removing the closet doors. This will be an in-depth guide that breaks down every step of the process, ensuring that you can handle this task with ease. But before we do that, check to ensure that all your tools are in working order. Do you have all the necessary sizes of screwdrivers at your disposal? Is your step ladder sturdy, and can it reach the top of the door? The last thing you want is to get half way through the job and realize that you’re missing a crucial piece of your tool set. So take a moment now to double-check your tools and the work area.
Next up – how to get that door off its hinges — without losing your cool in the process.
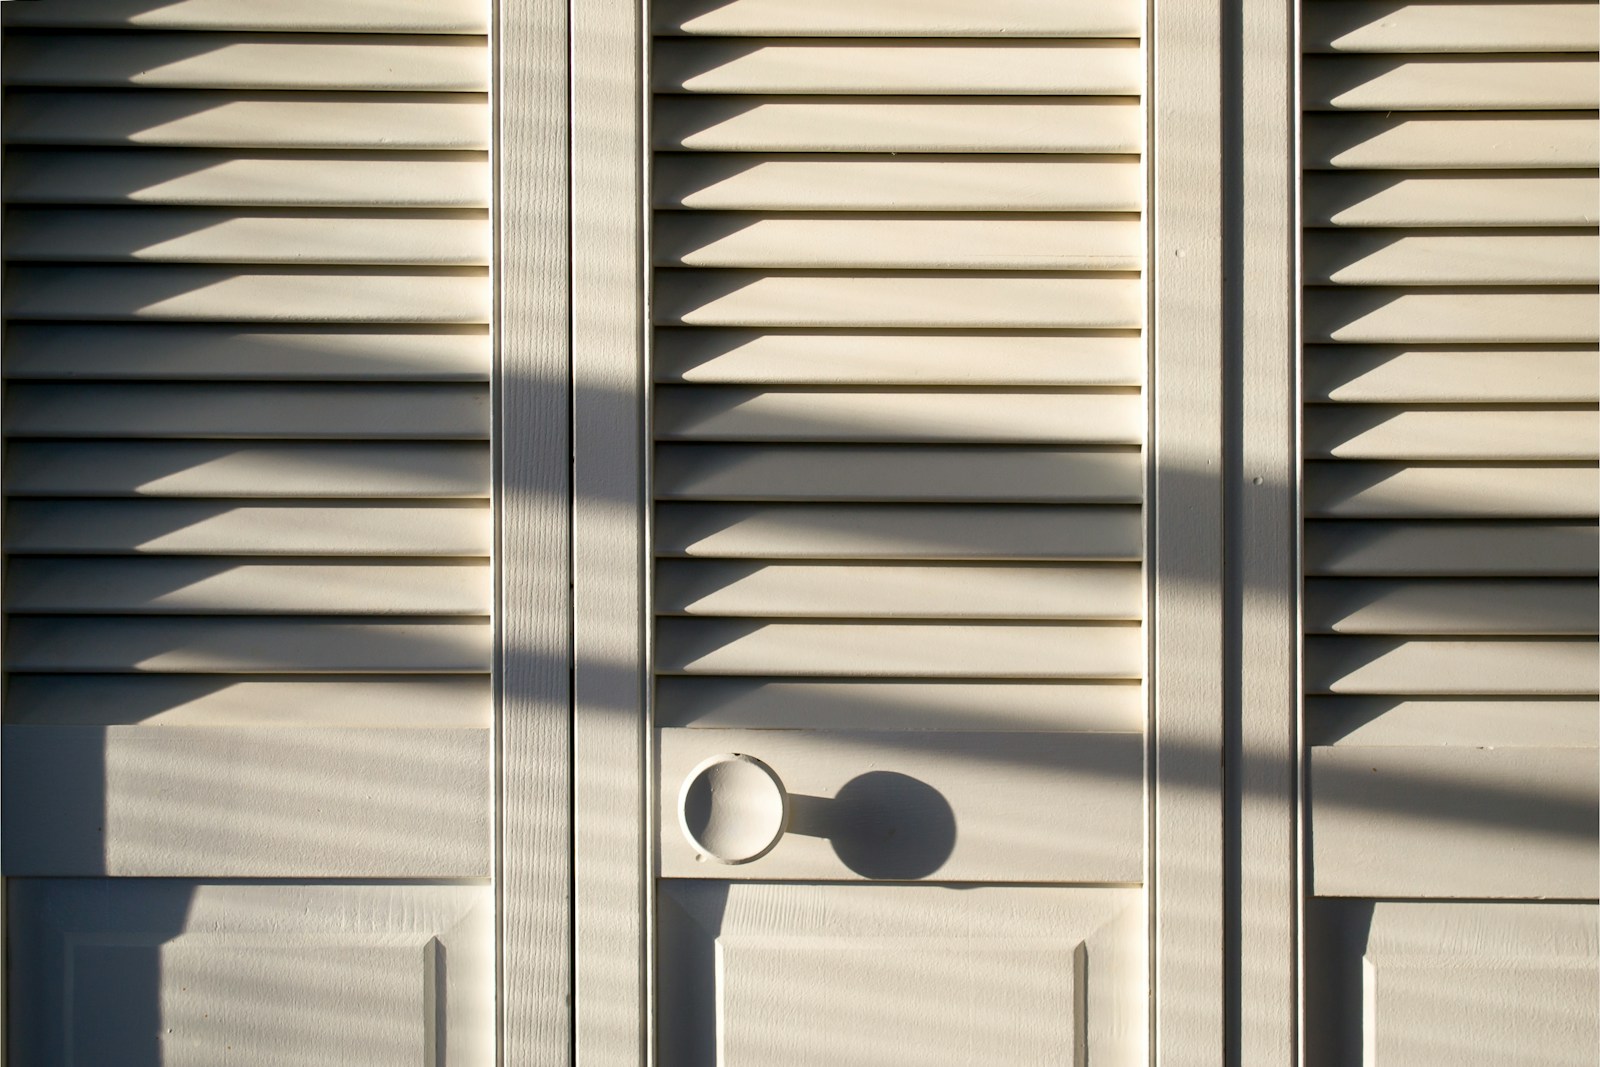
Identify the type of closet door
Before you charge ahead with your toolbox, bear in mind that not all closet doors are created equal. Successfully removing them without causing damage largely depends on the type you’re dealing with. There are primarily four types of closet doors:
- Hinged swinging doors
- Bypass sliding doors
- Bi-fold doors
- Pocket doors
Let’s dive a bit deeper into each type.
Hinged swinging doors are perhaps the most traditional. They’re attached to the door frame with two or three hinges and they swing outwards when opened. The good news is they’re fairly straightforward to remove. Just pop the hinge pins and you’re golden.
Next in line are the bypass sliding doors. These consist of two doors that slide past each other. As they’re suspended from a track, removing them might require a bit of extra patience and muscle.
Bi-fold doors, as the name suggests, are made up of two sections that fold in the middle. They’re also track-based, but present a different removal process to bypass doors. Make sure not to rush, and you’ll find they come away pretty trouble-free.
Finally, we’ve got pocket doors that disappear into the wall when fully opened. These can be tricky to remove as sometimes, you’ll need to remove part of the wall as well. But don’t fret, with the right tools and process, it’s doable.
So, take a moment to inspect your closet door and fit it into one of these categories. Remember, knowing the type of door you’re about to tackle provides you with invaluable insights on what to expect and the best way to proceed.
Remove the hinge pins
Let’s dive into removing those hinge pins. Make sure you’ve got your screwdriver and hammer handy. Don’t rush things – slow and steady wins the race. If your doors are anything like mine their hinges have been here for years and they might require a bit of extra coaxing to let go.
Your first task is to locate the hinges of your door. Look at the edge of your door and you’ll usually find them at the top and bottom. Some doors might have one more in the middle. Now, that’s a sturdy door.
The next step is taking out the pins that are holding those hinges together. Take your screwdriver and insert its tip into the bottom of the hinge. This is where a little help from your trusty hammer comes in. Give the screwdriver a light tap with the hammer. It’ll cause the hinge pin to move up. Don’t worry, you won’t need the muscle of Hercules. A little tap should be enough to get the pin moving. Just remember to keep your hand steady. We don’t want any accidental mishaps.
If you don’t find it moving up, don’t fret. Repeat the light tap, but if it’s a tough nut to crack you might want to enlist the assistance of a penetrating oil. Spray it around the hinge and give it some time to seep in and do its magic. This should loosen the hinge pin making it easier to remove.
Once the pin is high enough, take your pliers and pull it the rest of the way out. Be ready for the door to get loose, so keep a firm grip on it to avoid any accidents.
Voila! You’ve got your door off its hinges. Next we’ll walk you through some tips for dealing with the various types of doors.
Take off the door from the track
After getting those hinge pins out, it’s time for the real action – taking the door off the track. As mentioned earlier, the type of your closet door determines how you’ll go about this. Bypass sliding doors, bi-fold doors, and pocket doors all run on tracks, and each requires a slightly different approach. So pay attention, here we go!
Bypass Sliding Doors
Bypass sliding doors are up first. This kind of door operates in pairs, with one sliding behind the other on a track system. This setup lets you access only half of your closet at a time. To start, slide the door towards the center of the track. Lift it straight upwards until the rollers on top clear the track. Then, tilt the bottom of the door towards you, and voila, you’re done!
Bi-Fold Doors
Next, we’ve got bi-fold doors. These doors fold in on themselves and slide along a track. Now, to get these off, you’ll need to locate the guide rod in the top corner of the door. Push the door all the way open, lift up on the rod, and gently pull the door towards you. Be careful not to apply too much force or you’ll end up with a damaged door!
Pocket Doors
Finally, removing pocket doors can be a bit tricky because they slide into a pocket in the wall. You may need to remove a section of the wall to access them. But don’t worry, with a little patience and the right tools, it’s no big deal.
Firstly, pull the door as far out of the pocket as you can. Then, lift it up until it comes off the track system. Now, find the roller assembly unit attached to the top of the door. Unscrew it and the door should be free.
Don’t let these steps overwhelm you. Just take it slow. Once you’re done with this, we’ll move on to preparing the doorway for a new installation. So, keep your tools handy.
Patch up any holes or damage
Now that you’ve successfully managed to remove your closet door, don’t rush into installing the new one just yet. It’s quite common to find small holes, scratches, or even big gashes after a door removal process. Whether it was a swinging door, a sliding door, a bi-fold door or a pocket door, the removal could have left small damages on your wall or floor.
Let’s start with the basics. Small holes and scratches can easily be dealt with a fair amount of spackle or drywall compound. Using a putty knife, press the compound into the hole or scratch and smooth it over so it’s level with the wall. It’s as easy as pie and doesn’t take too much time. Don’t worry if the spackle’s color doesn’t match your wall as you’re going to paint over it.
For more significant damage like larger holes and gashes, the process is a little different. Rather than filling these entirely with spackle, you’ll first want to prepare a backing to give the compound something to hold onto. Trust me, it sounds more difficult than it actually is. Just stick a small piece of plywood behind the hole and screw it to the wall. Now, you can proceed with applying the compound following the same process as before.
After filling, allow the compound to dry completely. This usually takes around 24 hours. Meanwhile, you can start preparing for the paint. Once dry, sand the area until it’s smooth and level with the surrounding wall. Make sure the sanding process doesn’t leave uneven surfaces.
Fixing your closet’s damages is a good practice for maintaining your space’s aesthetic appeal. And when the fresh paint is up, your closet will be as good as new.
Handling removal of any type of closet door, be patient and kind to your closet and it will thank you in the long run. More importantly, get your hands dirty, learn a new skill, and have fun while you’re at this DIY project.
Conclusion
So, you’ve got the lowdown on how to remove those pesky closet doors. Whether you’re dealing with swinging doors, sliding ones, bi-fold, or even pocket doors, you’re now equipped to tackle the job. And remember, it’s all about taking it slow and steady. Don’t rush, and you’ll avoid unnecessary damage.
Got a few holes or scratches left behind? No problem! With a bit of spackle or drywall compound, you can patch them up like a pro. Just remember to let it dry before you start sanding and painting.
And hey, don’t forget to have fun with this DIY project. It’s not every day you get to take a door off its hinges! So, enjoy the process and be kind to your closet. After all, it’s about to get a whole new look!