Ever looked at your dripping kitchen faucet and thought, “I could fix that!”? Well, you’re not alone. It’s a common household task that’s often overlooked because it seems too complicated. But here’s the good news – it’s not as tough as it looks!
Importance of a Functional Kitchen Faucet
You’ve got your toolbelt on hand, an open window for fresh air, and a resolve stronger than the stubborn drip, drip, drip from your kitchen faucet. But before diving into the heart of the task, let’s take a pause and understand the importance of a well-working kitchen faucet.
The kitchen faucet is undeniably an essential component of your home. It’s usually the go-to spot for a quick glass of water or when you need to wash your hands. Besides, you encounter it any time you need to wash vegetables or dishes. So when it’s not working properly, it does interfere with your daily routine.
Just think about it – a dripping faucet is not just annoying but also costly. The Environmental Protection Agency (EPA) reports that a leaky faucet can waste more than 1 trillion gallons of water annually nationwide, enough to supply 11 million homes with water each year. That’s not just a drain on resources but also your wallet.
Also, don’t forget the environmental implications. Wasting water is never good for the biosphere. Conservation is important and fixing a dripping faucet is the least you can do for the environment from the comforts of your home.
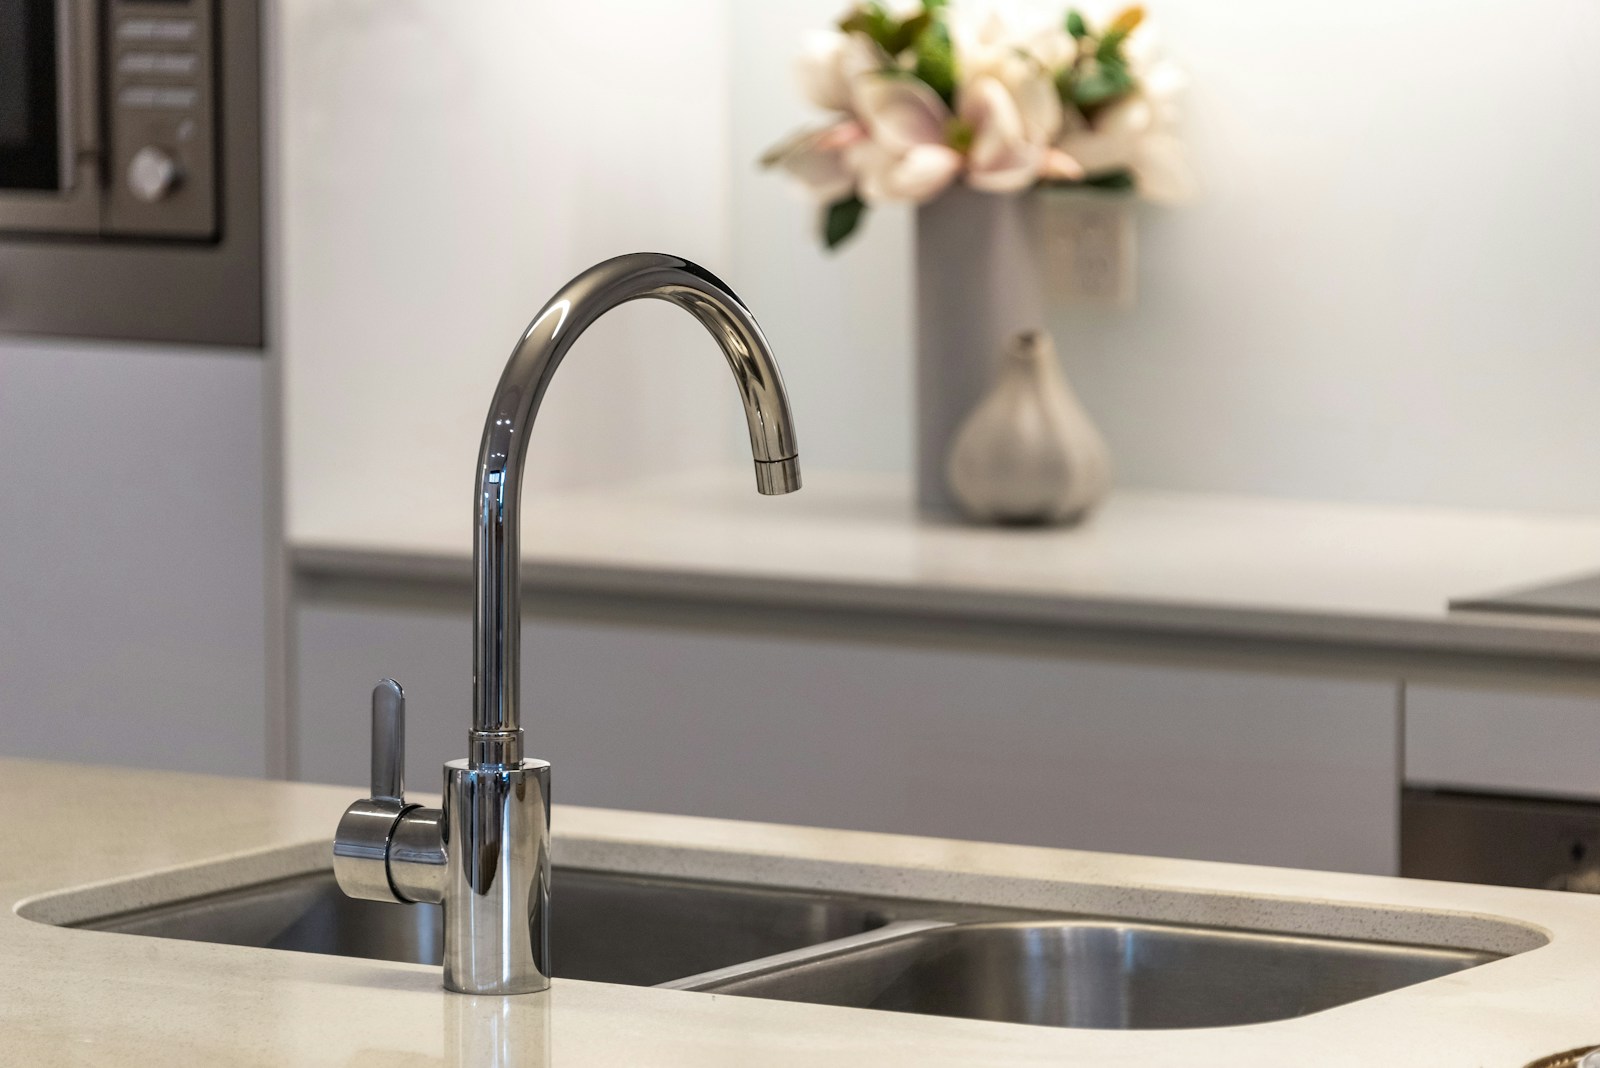
Lastly, how about the aesthetic appeal? Yes! A shiny, functional faucet gives a neat look to your kitchen. It speaks softly about your attention to detail and can impress your guests as well. So why let a small glitch interfere with all these daily joys and routines?
Tools and Materials Required
In your tireless attempts to maintain a top-notch kitchen, the faucet’s role is not a mystery, right? So, what about changing it? Can’t be too hard, can it? Well, don’t you worry, we’ve got just the scoop for you!
Gathering the Right Tools
Before the action begins, it’s crucial to assemble the necessary tools. After all, the right tools make for efficient work. Ensuring that everything is at your disposal prevents unnecessary interruptions once you’re elbows deep in your project!
Here’s a quick list of what you’ll need:
- Adjustable wrench
- Basin wrench
- Plumber’s putty or silicone-based sealant
- Plumber’s tape
Pro tip: A flashlight or a headlamp can prove invaluable when you’re trying to see under that sink!
Procuring the Perfect Faucet
Alongside the tools, you will need an important item – the new faucet. The market is flooded with numerous types of faucets. So you might stare in wonder, how do you pick one?
It’s simple! Understand what fits your kitchen and meets your needs, how often your faucet is used, how much space you have, and — let’s not forget — your budget.
You might find four common types of faucets:
- Ball faucets
- Disc faucets
- Cartridge faucets
- Compression faucets
Your choice depends on the look you’re going for, the required maintenance, ease of repair, and the kind of lever operation you prefer.
Steps to Remove the Old Faucet
Alright, now that you’ve got all your tools on hand, picked out the perfect faucet, and understand all there is to know about the different types, it’s time to get down and dirty with the old faucet.
First things first, you gotta turn off the water supply. Search for the shut-off valves under your sink, they’re typically right there. Just turn them clockwise until you can’t turn them anymore. Done? Great!
Let’s move on to the next part. You’re gonna wanna open the faucet to let any residual water drain out. Doesn’t seem like a big deal, but trust me on this one, it could save you a mess later on.
Once that’s done, it’s time to say goodbye to your old faucet. You need to disconnect it from the water supply lines. You should see two lines running from your shut-off valves to the faucet, one for cold water and one for hot. Remember that adjustable wrench you got? Yeah, you’ll need this now. Use it to loosen the nuts that connect the supply lines to the faucet.
OK, you’re halfway there. Your next job involves the basin wrench. You see the large nuts that hold your faucet to the sink? They’re usually tucked up tight against the underside of the sink, and that’s where the basin wrench comes in. This tool is specifically designed to reach and turn those hard-to-reach nuts.
You’re doing great. Remember, it’s important not to rush this – it’s not a race. Improper removal can damage your sink, sink stopper, or pipes and cause more problems in the long run. It’s more important to get it done right than to get it done fast.
Here comes your final task in this part. Once those nuts are loose, you should be able to lift the faucet right off the sink. If it’s being stubborn, don’t be afraid to put some muscle into it, but be careful not to scratch your sink. Congratulations! Your old faucet is finally out.
Let’s pause here for a moment. All that hard work calls for a rest, don’t you think? Remember to always take breaks whenever you need to during this process. Just don’t forget we are well on our way to installing that brand new, sparkly faucet.
Installing the New Faucet
Here we are – step two of our faucet changing journey. Now that you’ve successfully removed the old faucet, let’s tackle the installation process.
Pro Tip: Before starting, make sure you’ve familiarized yourself with the instructions that came with your new faucet. Some models might have unique requirements or set-up steps so it’s good to know those from the get-go.
First off, ensure that the surface of the sink is clean. Any lingering dirt or old plumber’s putty can mess up the installation. You want a fresh, clean start for your new faucet.
Next up is placing the gasket or trim ring. Now, depending on your faucet model, you may have a gasket that goes between the faucet and the sink. If there’s no gasket, don’t worry! You can use plumber’s putty instead. Once you’ve placed the gasket (or putty) lie the faucet on top. Remember, in this game, alignment is everything!
Now the fun part – let’s get that faucet secured! Here’s where you’ll thread the mounting nuts onto the faucet tailpieces. You’ll just tighten them, allowing the faucet to sit snugly on your sink.
And here comes the crucial part of your installation – connecting the water supply lines. Some faucets come with built-in supply lines, but others might need separate ones. You just need to thread the supply lines into the tailpieces. Be mindful not to overtighten – it’s all about achieving the Goldilocks level of “just right”.
In case of any leakages, do not panic. It’s a common occurrence and is easily fixable by some tightening here and adjustments there. Just ensure you’re checking all connections regularly to make sure everything’s secure.
Testing the New Faucet
Awesome, you’ve successfully installed your new kitchen faucet. But hold on, cowboy! Don’t start washing those dishes yet. It’s important to first test your handiwork to make sure everything is in its rightful place and working as expected. Not only will this validate your skills but it’ll also give you a peace of mind. So how do you go about this? Don’t worry, it’s as easy as pie!
Go ahead and turn on both the cold and hot water supply valves underneath the sink. Pay close attention to see if there’s any odd sound or notice any water leaking from the connections. If you see anything amiss, there’s still enough time to correct it and you can always go back and check your connections. Please, keep in mind that overtightening might cause damage, so handle with care.
Next up, run your faucet, starting with the cold water. Be sure to test every feature of your new faucet – the spray wand, the pull-down spout, you name it. If your faucet comes equipped with a built-in sprayer or soap dispenser, test these as well. Roll up your sleeves and give every piece a complete check, it’s an assured way to avoid any nasty surprises later on.
Remember that some faucets have a feature called an aerator – a device that mixes air with the water as it flows out. This could lead to some air being released causing some sputtering when you first run the faucet. That’s normal, don’t panic, just let the tap run for a while until the flow becomes steady.
You may notice some slight leakage from the new faucet initially. This isn’t always a cause for concern. Since new faucets can contain debris from the manufacturing process, this could be simply flushed out as you run the water, and the leakage might stop on its own.
Congratulations on your new upgrade! Enjoy the satisfaction that comes with improving your kitchen all by yourself. Hang around for the next section where we’ll keep sharing some more valuable tips for keeping your kitchen spotless and efficient.
Change Your Faucet Like a Pro
So there you have it! You’ve successfully swapped out your old kitchen faucet for a shiny new one. Remember, it’s perfectly normal if the faucet sputters or leaks a bit at first.
Just keep the water running until things smooth out. You’ve done a great job and your kitchen’s got a fresh new look to prove it. Keep up the good work and don’t forget to check back for more handy kitchen maintenance tips. You’re becoming quite the home improvement pro!