Ever looked at your closet and thought, “Man, I could really use some extra shelves in here”? Well, you’re in luck!
This guide’s gonna show you how to build your own closet shelves. It’s easier than you think, and you don’t need to be a master carpenter to pull it off.
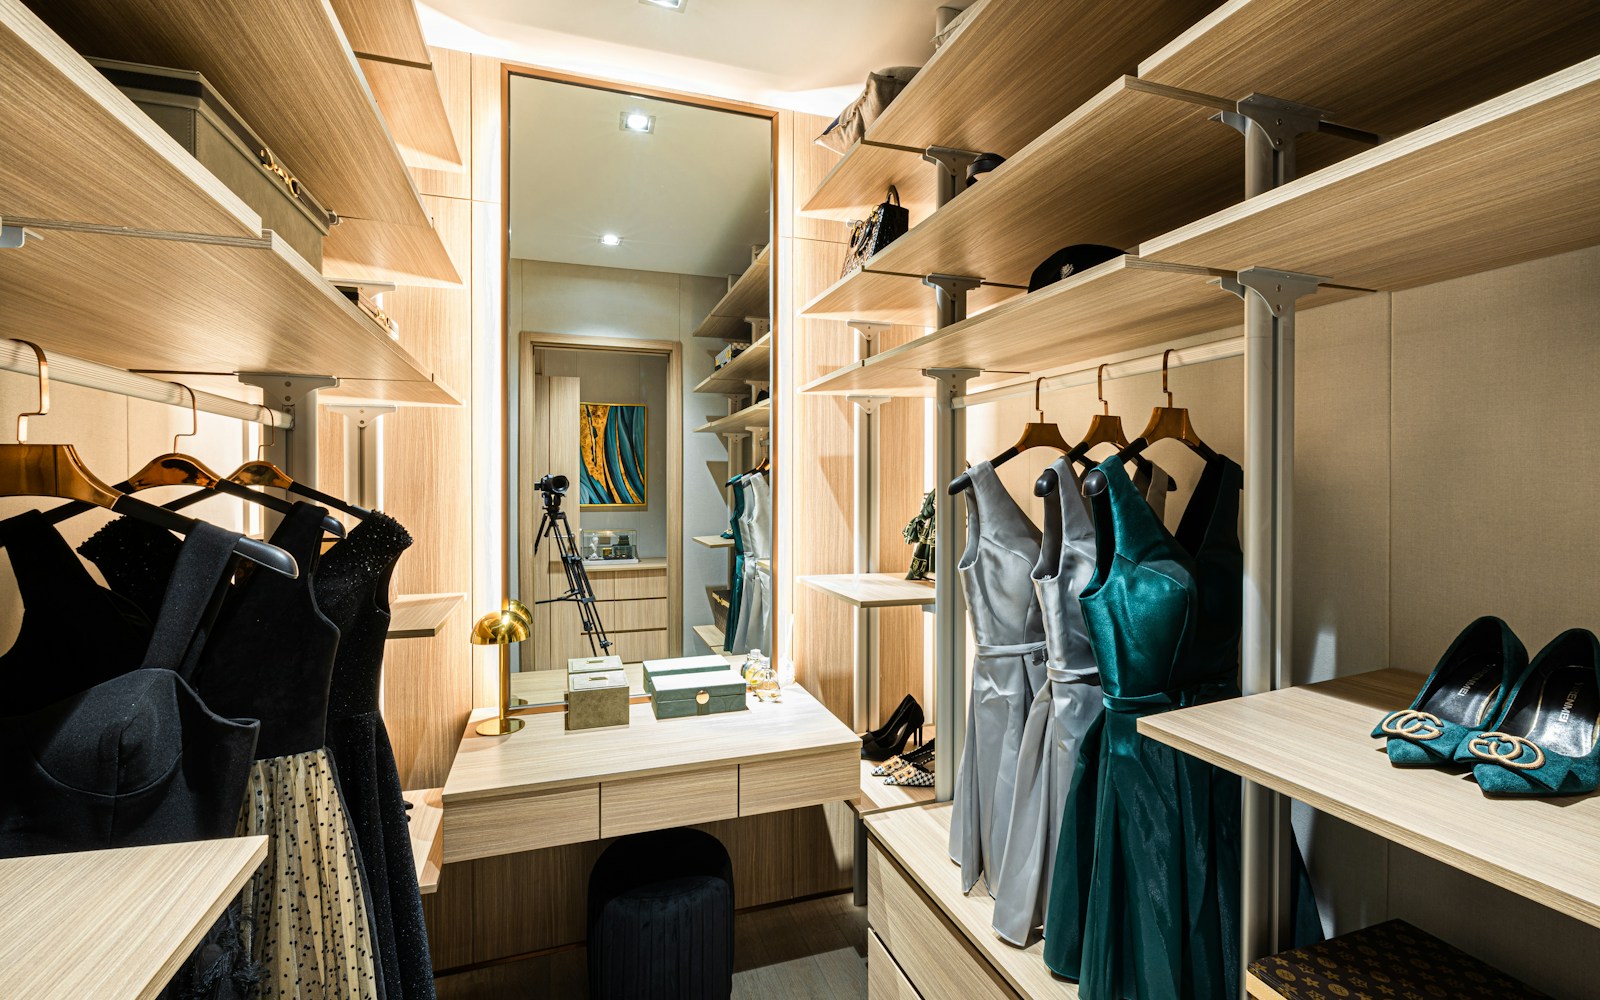
Determine the Size and Layout of Your Closet Shelves
Now that we’ve covered the basics of choosing the right materials for your new shelves, it’s time to dig into the pivotal step of determining the size and layout of your closet shelves. So grab that tape measure and let’s dive in!
Start with recording the width, depth, and height of your closet. Combine these measurements with the bulk and varying sizes of the things you plan to store to chalk out a possible layout. For instance, if you’re planning to accommodate your collection of epic fantasy novels, you’ll need shelves that are 10-12 inches deep, but for storing cute miniature figurines, 6-8 inches will do.
Consider the space between your shelves as well. For better organization, keep different items on different shelves. Smaller items sit well on narrower shelves while larger ones demand more generous spacing.
Don’t forget the importance of accessibility. A fancy high shelf is certainly a showstopper but no good if you need a stepladder every time you want your favorite sweater, isn’t it? Instead, keep daily essentials on mid-level shelves while off-season or infrequently used items find their ideal spot on the topmost shelves. Here’s a table that might help:
| Shelf Level | Items | Space Between Shelves |
|---|---|---|
| Bottom | Shoes | 8 – 12 inches |
| Mid-level | Daily essentials | 14 – 16 inches |
| Upper | Infrequent items | 10 – 12 inches |
Sure, a closet is a practical storage solution but it doesn’t mean it has to be boring. You want your shelves to represent your personal style as well as your needs. Try alternating shelf widths or add in a pop of color for a more dynamic layout.
Remember, there’s no one-size-fits-all strategy when it comes to closet shelf size and layout. It’s all about what works best for you and your belongings. After you’ve determined the size and layout for your shelves, we’ll go straight into the next step in our DIY closet-shelves journey: the cutting of the materials. But that’s another exciting step for another time.
Gather the Necessary Tools and Materials
Before you make a start on your DIY closet shelf project, it’s time to gather your tools and materials. Now, you might be wondering, what will you need? Don’t sweat it! Here’s a handy list of essentials you’ll need to bring your vision to reality:
- A tape measure, a ruler or anything else you can use to measure
- A pencil for marking cuts and holes
- An electrical drill, to create those much-required holes
- A circular saw, for cutting the wood to the right dimensions
- Sandpaper, for smoothing the edge of the shelves
- Screws, to secure everything in place
- Shelf brackets, to support your shelves
- And of course, your chosen material for the shelves.
So, how about the materials for the shelves? Well, the world’s your oyster. You could go for wood, plywood, or perhaps even MDF. It all depends on what look you’re going after. For a sleek, modern look, you might consider a dark, glossy wood. For a more rustic theme, a roughly hewn slab of pine could work wonders. The choice is yours.
Important note – ensure that your chosen material can bear the weight of the items you plan to store on it.
Once your tools and materials are all set, it’s time to bring them all together. You might be thinking, “Great, what’s next?” Onwards to your next DIY adventure! The fun part is just around the corner.
Remember always to keep safety in mind too. Protective glasses, gloves, and closed-toe shoes are key when working with tools and handling wood. Also, make sure your work area is well-lit and clear of unnecessary clutter.
As you get all geared up, remember that patience is a virtue in the DIY world. Good things (like your ideal closet shelves) take time. There’s no rush, take your time, and enjoy the process.
Measure and Mark the Placement of the Shelves
After gathering all your essential tools and safety gear, it’s time to get the ball rolling. This phase requires precision so patience is key. Remember, you’re not only crafting a functional item but a delightful addition to your space.
Grab your tape measure and pencil. Understanding how to properly measure and mark your shelf placement is a critical step. Do it wrong, and you’ll end up with uneven or unstable shelves. So bear with us as we guide you through.
First, you’ve got to consider how high each shelf should be. The general rule of thumb is to space shelves about 12 inches apart. This distance allows for maneuverability and enough area for most items. However, consider the sizes of items that’ll inhabit the shelves. Make sure you leave more space for taller items and vice versa.
Once you’ve got that figured out, it’s time to measure and mark. With the tape measure, measure the desired height from the floor or from the previous shelf mark. Make a small mark with your pencil. This mark represents the bottom-edge of your shelf. Make sure you use a level at this point. It’ll go a long way in ensuring your shelves aren’t askew.
Pro tip: Try to mark the studs, too, if they’re visible. Shelf brackets attached directly into studs provide formidable support compared to drywall alone.
You’ve now marked out where you’ll want your shelves. Well done! But hold on, we’re not done yet. You still need to find the right method for securing your shelves. Let’s dive into that in the next section, shall we?
Cut the Shelves to Size
Having established and marked out the perfect spots for your shelves, it’s time to get cutting. You know what they say: “Measure twice, cut once!” So make sure you’ve got those measurements down to the last millimeter.
First off, place the plywood sheets on a stable work surface. When setting up, ensure it’s secure and won’t wobble or shift while you’re working. You can use sawhorses with clamps to achieve this. You wouldn’t want your precious plywood getting damaged, or worse, causing an accident.
Next, you’re gonna need to transfer your shelf measurements onto the plywood. There’s no fancy tech angle to it, merely good old-fashioned tools like the straight edge and pencil. Lay the straight edge across your marks and draw a straight, sharp line. Remember, this is where you’ll be cutting so, don’t go easy on the pencil.
Before cutting, put on safety gear, and we’re not talking about those bulky outfits you’ve seen in sci-fi movies. Just simple staples like safety glasses, working gloves, and earmuffs to protect you from the dust and noise.
For the actual cutting part, we recommend using a circular saw. If you’ve never used one before, don’t fret. It’s relatively easy to handle, and there’s always a first time for everything, right? Start from one end of the line and work your way to the other, keeping the line just to the side of your blade.
One quick tip: use tape to mark where your blade should start and stop while cutting. This way, you’re less likely to overshoot your mark and wind up with shelves that are too short.
All set for the next step? Hold that thought! We’ll tackle securing these shelves to the studs in the next section.
Assemble and Install the Closet Shelves
Now that the meticulous process of cutting your shelves to the perfect size is over, let’s move on to the exciting part. You’re ready to assemble and install your closet shelves. Remember, your aim here isn’t just to create storage, but to build something that adds to your home’s aesthetic and functionality.
At this point, you’re gonna need your drilled plywood pieces and wall brackets. But before you get into it, here’s a checklist of some basic things you’ll need:
- Drilled plywood shelves from earlier step
- Wall brackets
- Drill
- Screws
Start off by positioning the wall brackets in the studs you’ve earlier marked and identified. You’ll have to secure the brackets with your drill and screws. But hey, don’t rush. You’ll want to ensure that the brackets are level to avoid unevenly positioned shelves – trust me, you don’t want your belongings sliding off.
After the brackets are securely in place, you’ll then lay your custom cut shelves onto the brackets. At this juncture, make sure your shelves fit snugly and there are no apparent spaces.
Once you’ve confirmed this, it’s time to secure your shelf. Using your drill, screw the shelf into your brackets, applying the necessary amount of pressure. Gentle reminder: don’t overdo it with the force. ‘Cause if you thread your screw, you might have to start this bit again.
Heading into this phase, one crucial thing’s for sure – patience pays off. You’re halfway there, keep it up! In the following sections, we’re gonna delve into finer details of painting and finishing your shelves. After all, you’re not just making shelves, you’re crafting a work of art.
Enjoy Your Closet!
So there you have it! You’ve got all the know-how to put together your own stylish and practical closet shelves. Remember, it’s all about the right tools and a bit of patience. With your plywood pieces, wall brackets, drill, and screws, you’re all set to transform your closet. Just make sure those brackets are well-positioned in the studs to keep your shelves level. Then, it’s all about securing your custom-cut shelves and applying the right amount of pressure. And don’t forget – this is just the start. Your new shelves are a blank canvas ready for your creative touch with paint and finishing details. So go ahead and roll up your sleeves – your closet transformation awaits!